Guide · 6 min read
How to Measure a Room for Tile (Step by Step)
Measure any room for floor or wall tile: handle closets and alcoves, convert inches to decimals, subtract fixtures, and add the right waste percentage.
Free calculator — runs in your browser, nothing is uploaded.
Start with the big rectangle
Every room is a collection of rectangles. Measure the main space first: wall to wall, in feet and inches. Write both dimensions down before you measure anything else — most measuring mistakes come from holding numbers in your head.
Convert the inches to decimals before multiplying: 10 ft 6 in becomes 10.5 ft, 12 ft 3 in becomes 12.25 ft. Multiplying 10.5 × 12.25 gives you 128.6 sq ft — the number every tile box and calculator works in.
Handle alcoves, closets and bump-outs
Measure each alcove or closet separately as its own rectangle and add it to the main area. A 3 × 4 ft closet adds 12 sq ft — enough that forgetting it can leave you a box short on a mid-sized room.
Bump-outs like a fireplace hearth or a cabinet footprint work in reverse: measure them and subtract. Only subtract permanent fixtures that will not be tiled under — kitchen islands on the finished floor, tubs, and built-in vanities.
Tools that make measuring easier

Tile Tools Stainless Steel Square Notch Trowel Set Plus Rubber Grout Float and Grout Sponge for Tiling Installation Grouting
Check price on Amazon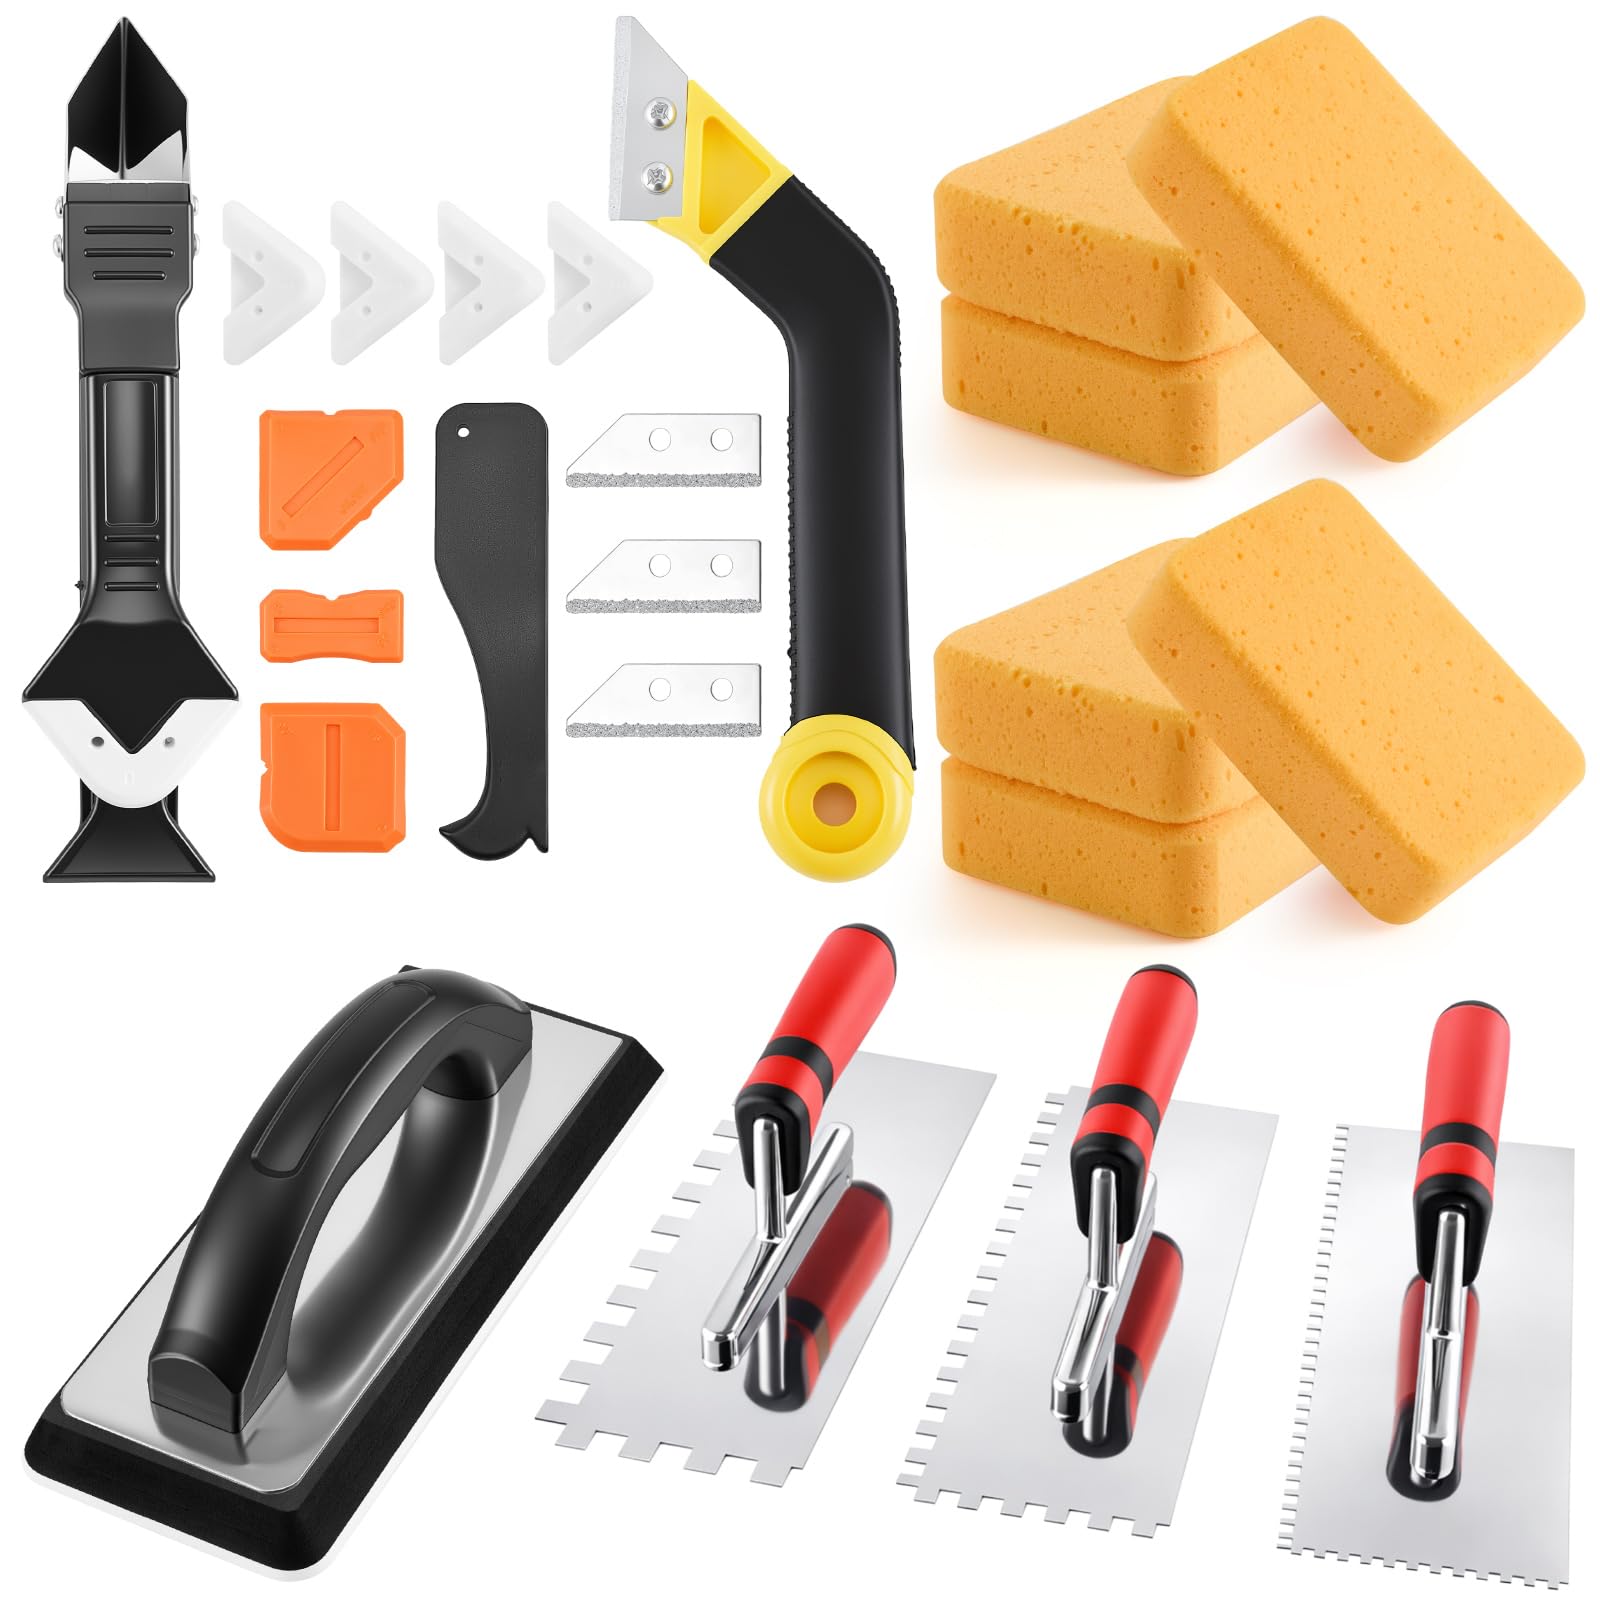
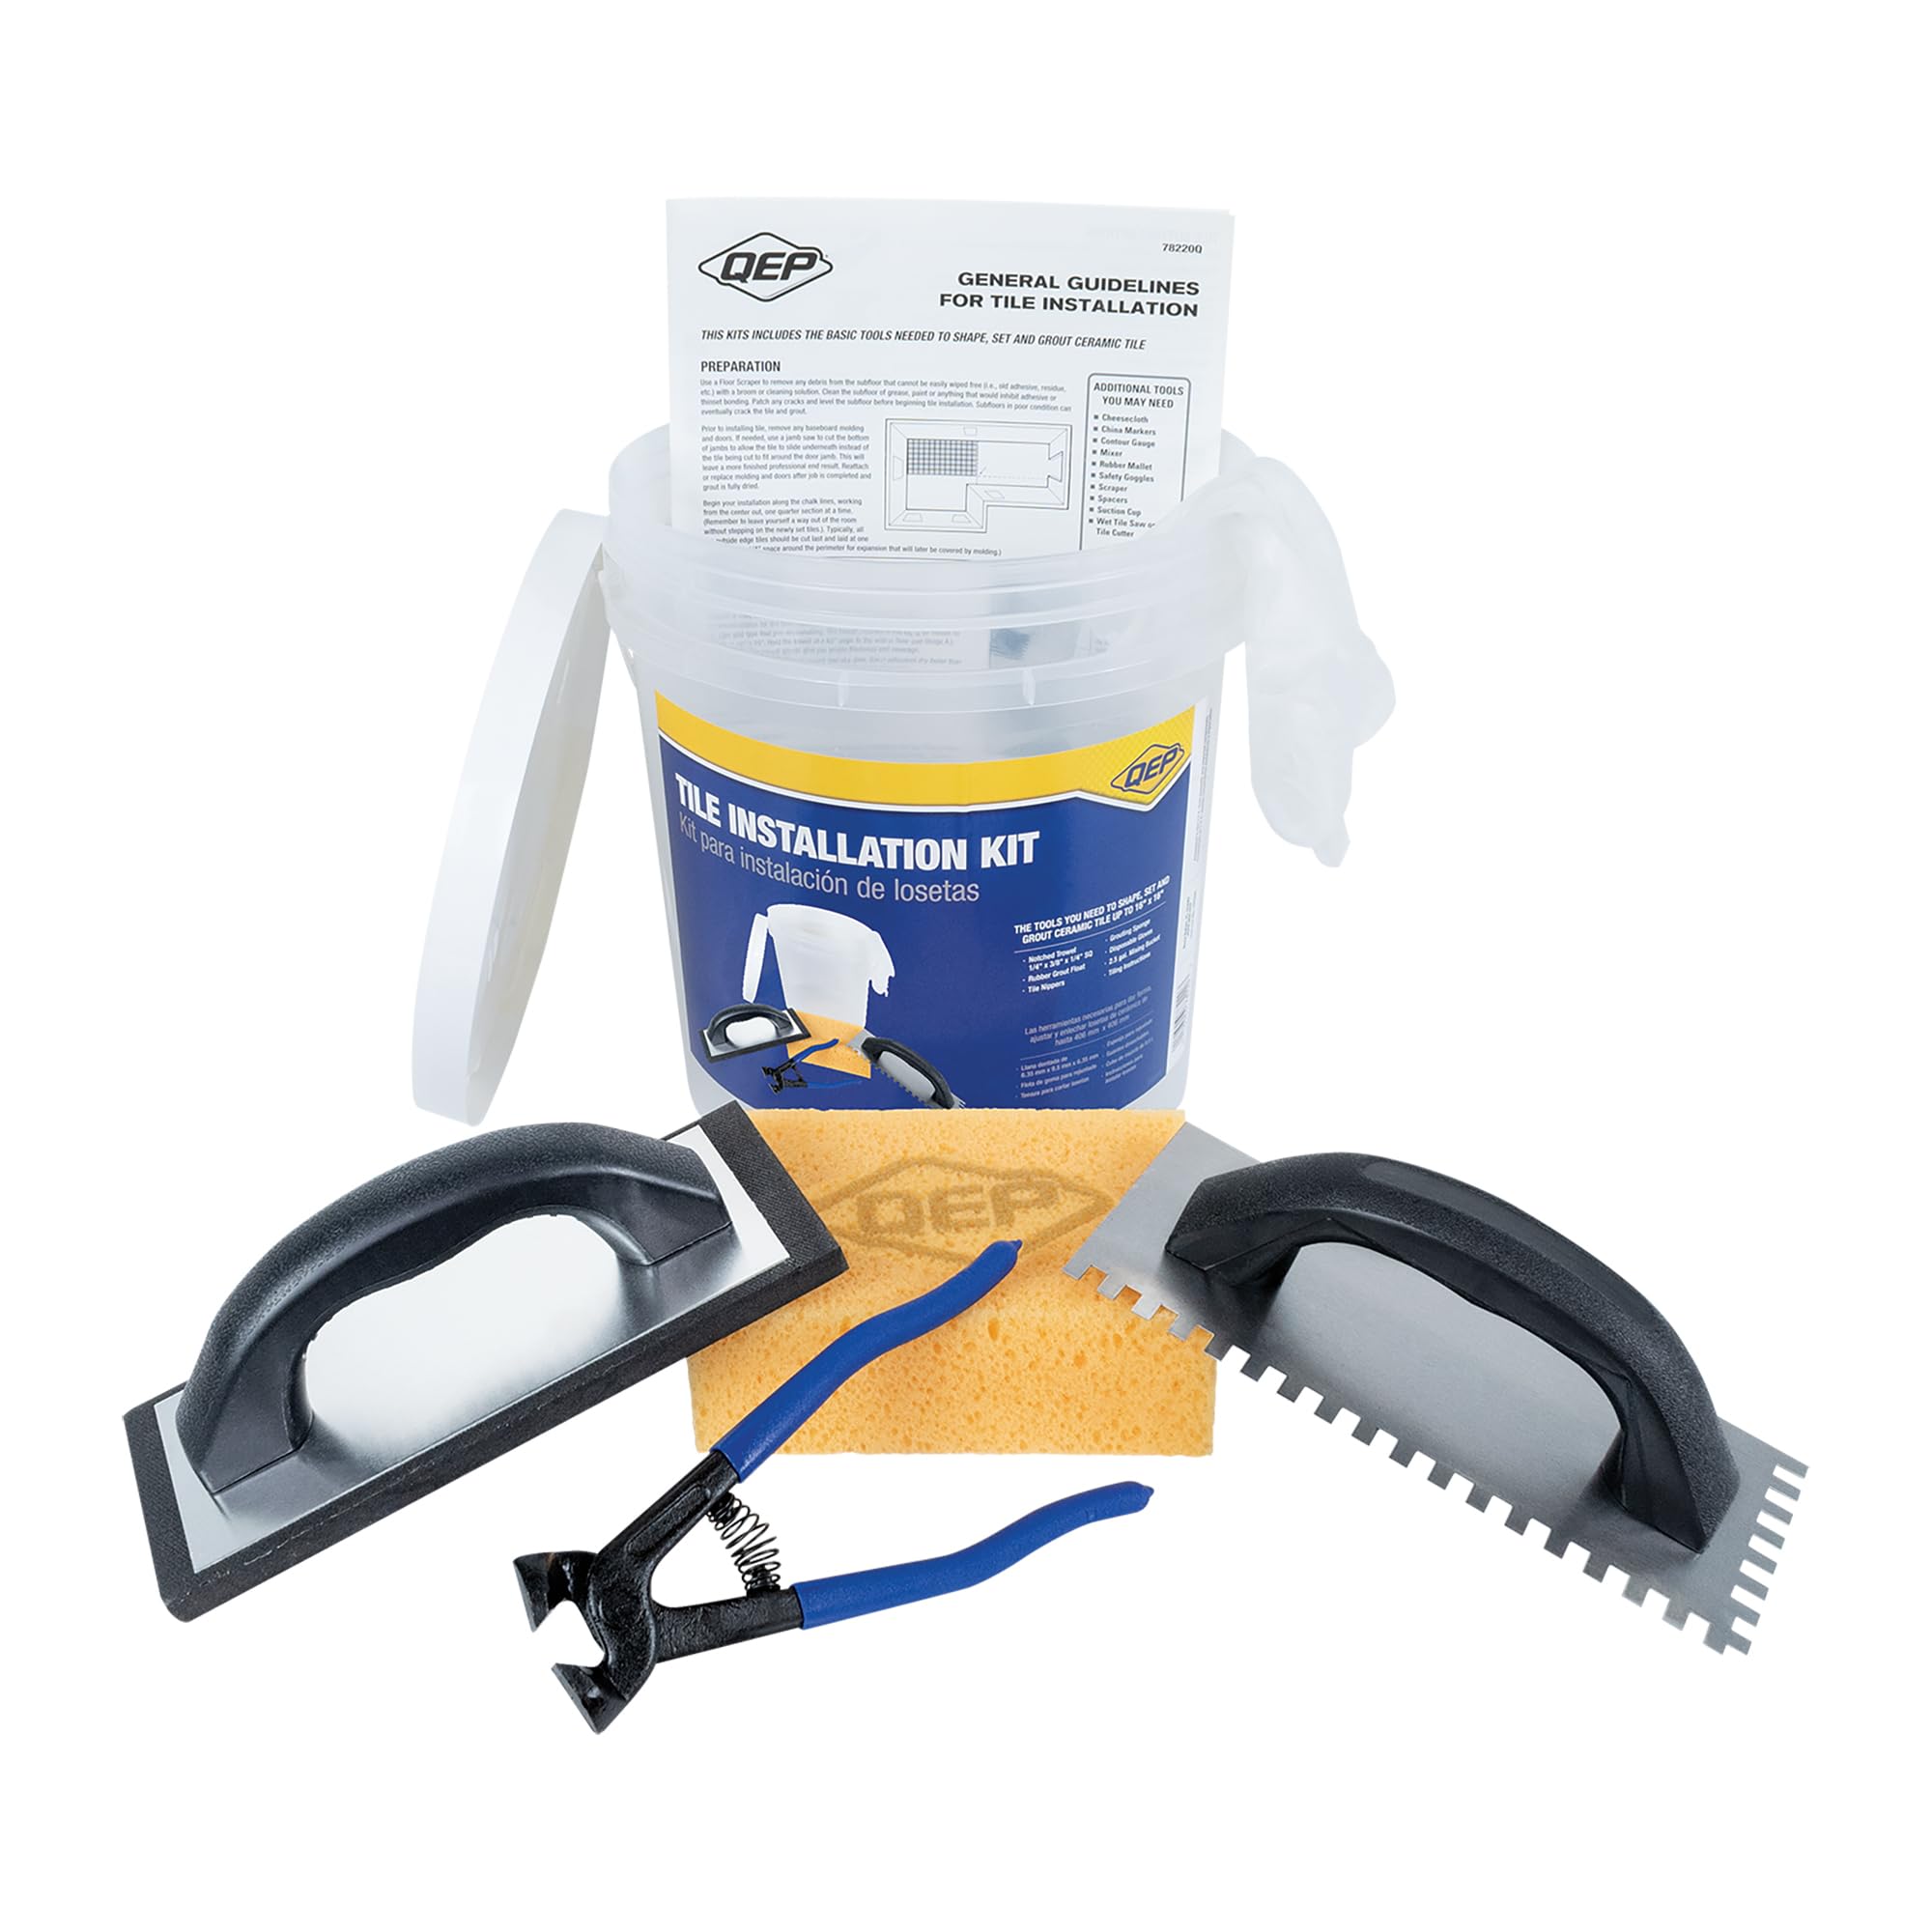
23 Pcs Tile Trowel Kit with Grout Float, Removal Tool, Silicone Caulking Tool, Grout Saw with 3 Blades, Sponges and Tile Trowels Set for Floor Wall Installation
Check price on Amazon
Paid links — we may earn a commission at no extra cost to you.
Walls: doors and windows
For wall tile, measure each wall separately: width times height. Subtract doors and windows by their rough opening size — a standard door is about 21 sq ft, a typical window 6–12 sq ft.
Don't subtract anything smaller than about 2 sq ft (outlets, niches you'll tile inside, pipe penetrations). The tile you lose cutting around them roughly equals what you'd have ordered anyway.
Add waste — and write the number on the wall
Straight layouts need 10% extra for cuts and breakage; diagonal and herringbone patterns need 15–20%. Multiply your net area by the waste factor, and that final number is what you order.
Pro habit: write each wall and floor dimension in pencil directly on the surface. When you're knee-deep in thinset two days later wondering about the far wall, the answer is on the wall.
- Main rectangle: length × width (inches converted to decimals)
- Add alcoves and closets; subtract permanent fixtures only
- Walls: subtract doors and windows over ~2 sq ft
- Add 10% waste for straight layouts, 15–20% for patterns
FAQ
How do I convert inches to decimal feet?
Divide the inches by 12. 6 in = 0.5 ft, 3 in = 0.25 ft, 9 in = 0.75 ft. So 12 ft 3 in is 12.25 ft.
Should I measure under the toilet or vanity?
For floors, measure the full footprint — you'll tile under the toilet flange area. Subtract only fixtures that sit on the finished floor permanently, like a vanity or island.
How accurate do measurements need to be?
To the nearest inch is fine. The 10% waste allowance absorbs small measuring errors — precision matters more for layout planning than for ordering.
Keep reading
- Choosing the Right Tile Size for Your Room
How tile size changes a room: when 12×24 beats 4×4, why small rooms can take large tile, grout line math, and the flatness rule for big formats.
- How Many Tiles Do I Need? A Worked Example, Start to Finish
A real 10×12 room taken from tape measure to order quantity: net area, waste factor, per-tile coverage, box math, and the attic stock rule.