Guide · 6 min read
How to Remove Tile: Demo Day Without Destroying the Subfloor
Hammer-and-chisel vs rotary hammer, protecting the subfloor, dealing with mastic vs mortar beds, dust control, and when a demo crew is worth the money.
Free calculator — runs in your browser, nothing is uploaded.
Start at a broken tile or a doorway
Tile comes up from an edge, not from the middle. Find a broken tile, a threshold, or pull a baseboard and start at the wall. Get the chisel under the first tile, pop it, and every neighbor comes easier.
A rotary hammer with a wide chisel bit ($50–80 rental) turns a weekend of hand-chiseling into a morning. Hold it shallow — nearly parallel to the floor — so it lifts tile instead of diving into the subfloor.
Know your enemy: mastic, thinset, or mud bed
Mastic (organic adhesive, common on old walls) scrapes off relatively easily. Thinset on backer board usually means the backer board comes up with the tile — plan to replace it; it's cheap. Thinset direct on slab leaves ridges you must grind flat before re-tiling.
The worst case is a mud bed: 1–2 inches of mortar under old tile. It's heavy (10+ lb per sq ft of debris), brutal to break, and absolutely must come out completely. This is the scenario where paying a demo crew is rational.
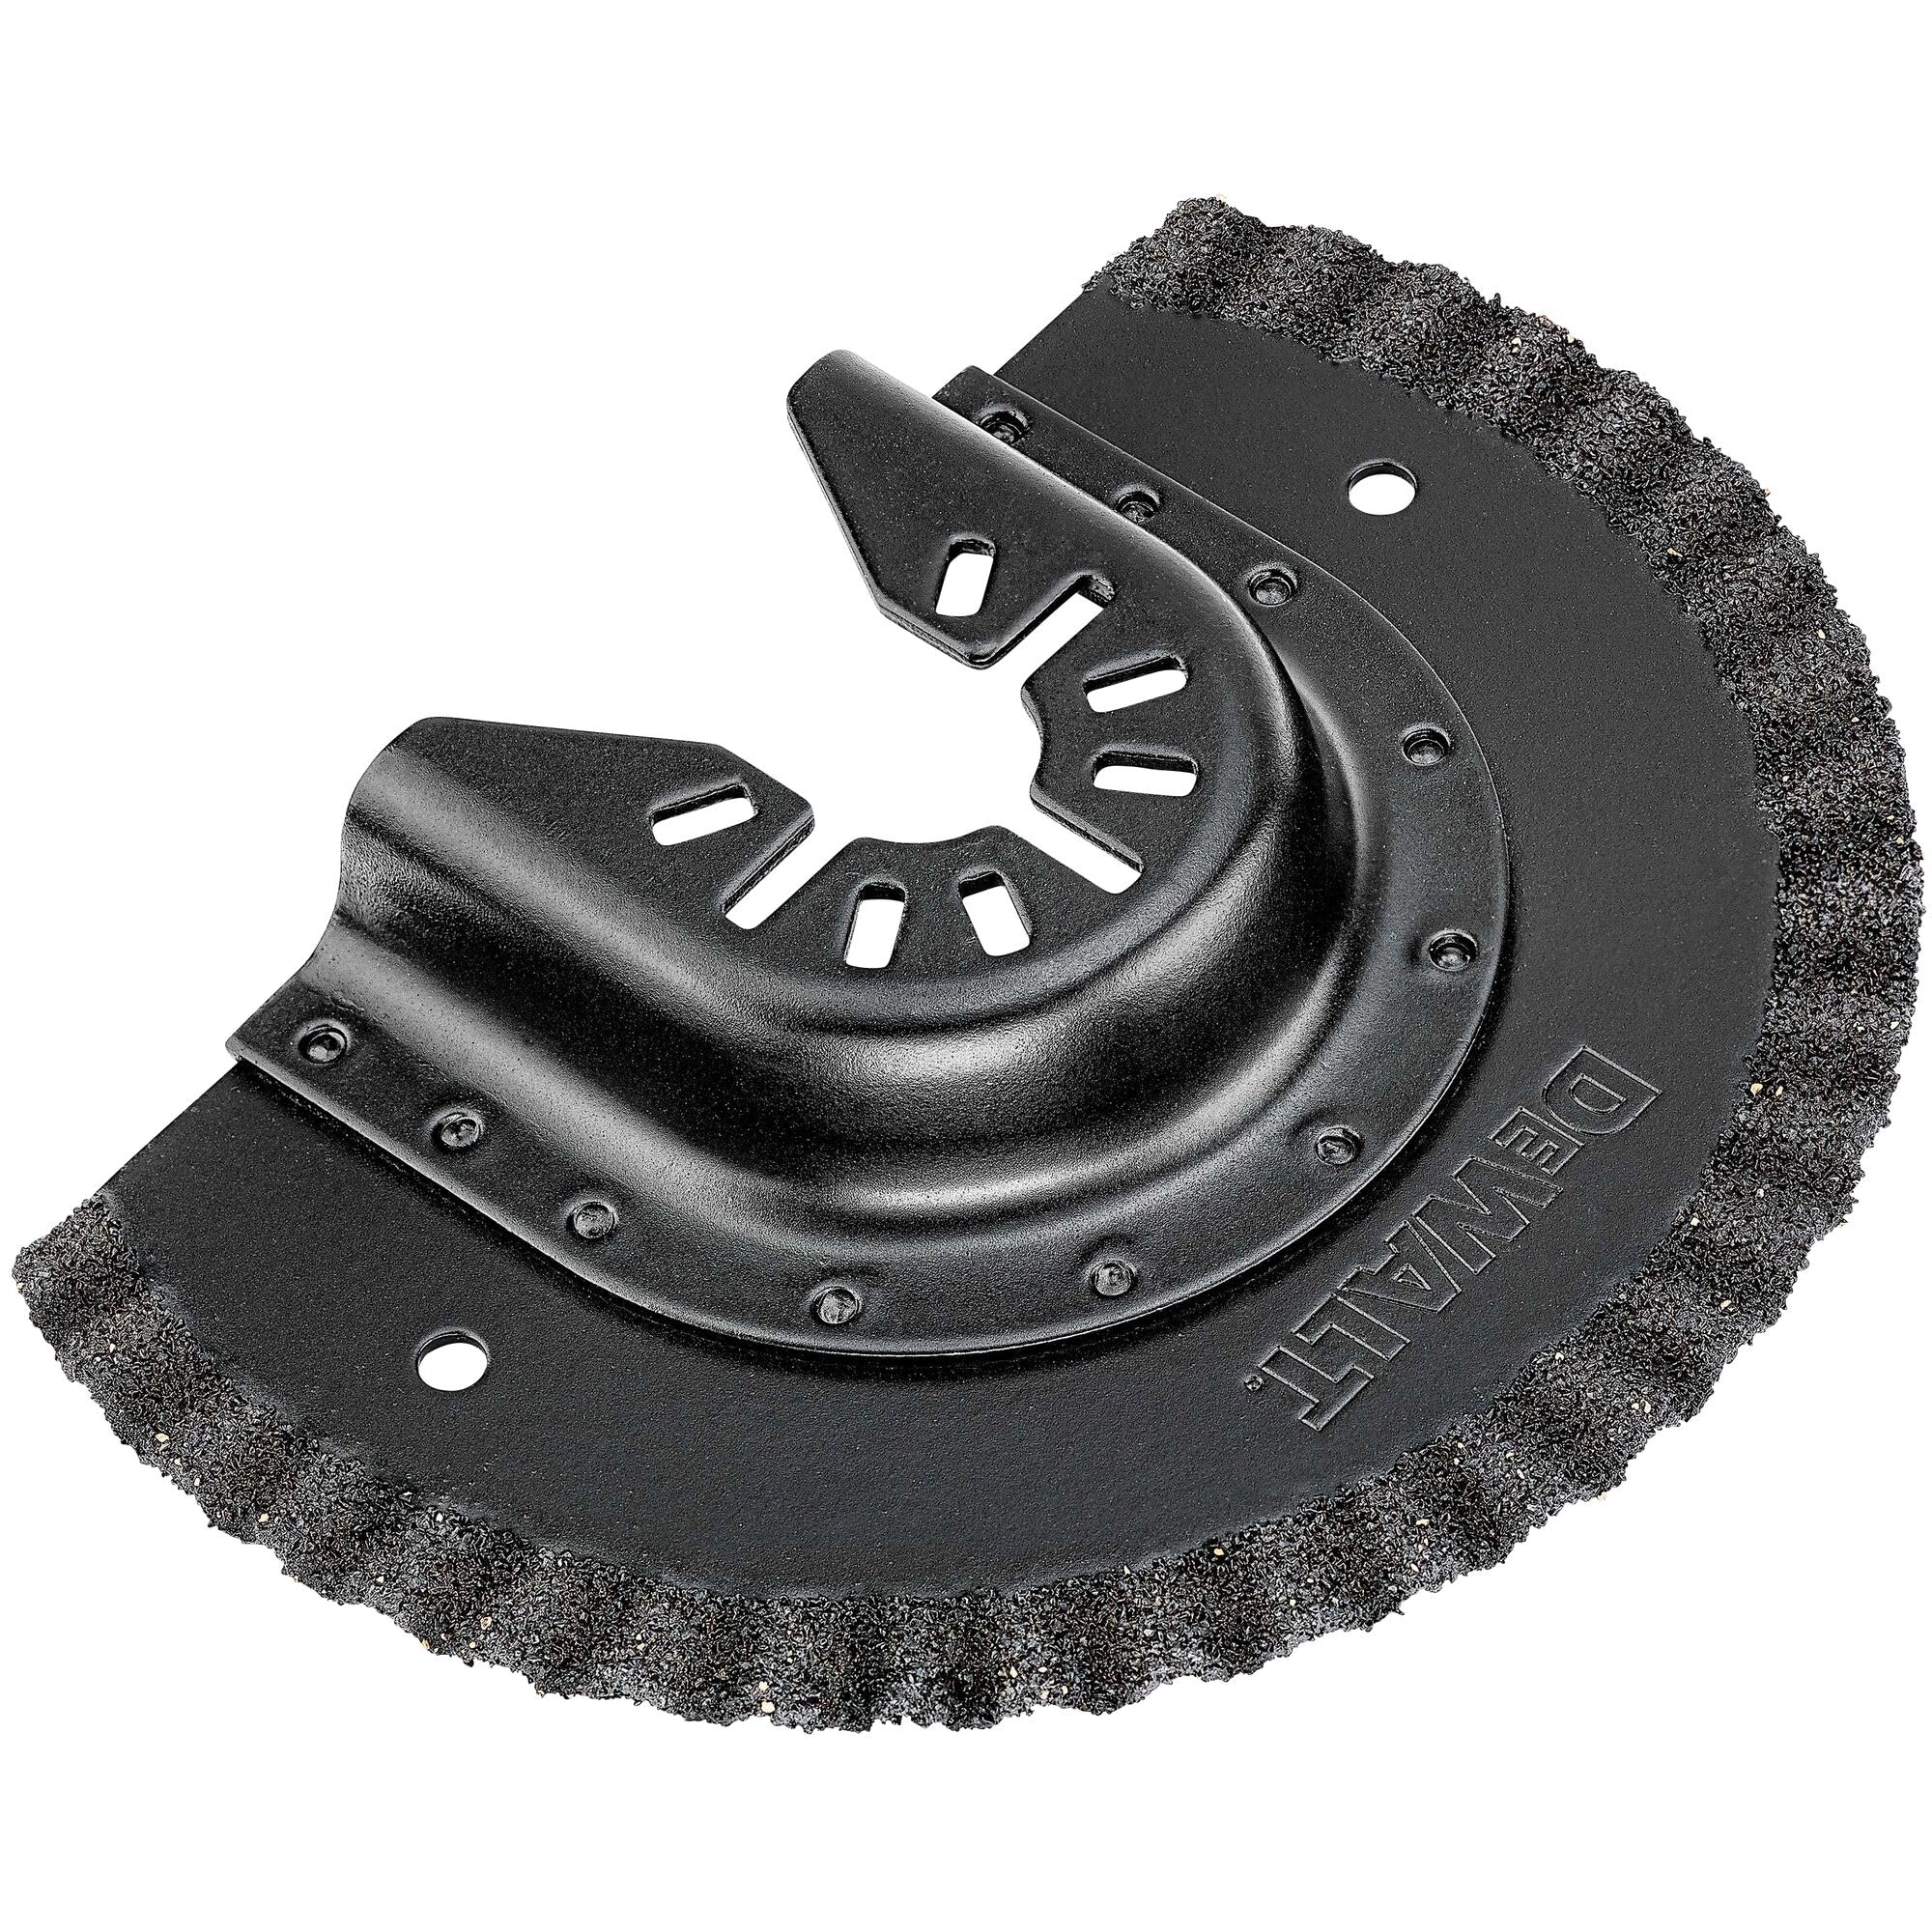
Demo tools that speed it up

EZARC Diamond Oscillating Saw Blades Set for Grout, Mortar, 4-Pack | Precise Flush Cuts, Segmented Swing Design, Flat Side for Corners, Up to 5x Life, Remove Grout, Mortar and Plaster
Check price on Amazon
XXGO 3 Pcs Diamond Grout Multitool Blade for Grout Remover XG3001S | Best to Remove 1/8" Grout Line
Check price on Amazon
Paid links — we may earn a commission at no extra cost to you.
Dust is the real battle
Tile demo dust is fine silica — it coats the whole house and it's hazardous to breathe. Seal doorways with plastic and tape, tape return-air vents shut, run a fan blowing out a window, and wear a real respirator (P100), not a dust mask.
Debris is heavy: a 100 sq ft floor is 500–1,000 lb of waste. Rent a small dumpster or check your transfer station's construction-debris rules before you start, not when the pile is in the garage.
What's underneath decides the re-tile
Inspect the exposed substrate before planning the new floor. Slab: check for cracks and grind mortar ridges flat. Plywood: replace any delaminated or water-stained sheets and confirm you're at 1-1/8 inch total thickness for tile.
This inspection is the hidden value of tear-out — you find the slow leak, the termite damage, the cracked joist now, while fixing it is cheap.
FAQ
How long does DIY tile removal take?
With a rotary hammer, figure 1–2 hours per 100 sq ft for the tile itself, plus equal time for mortar cleanup and haul-out. A bathroom is a solid weekend; a whole floor is two.
Is tile removal dust dangerous?
Yes — crystalline silica is a serious lung hazard. Wet methods where possible, strong ventilation, and a P100 respirator are the baseline, plus sealing the work area from the rest of the house.
Can I tile directly over the slab after removal?
Only after every mortar ridge is ground flat and cracks are treated with an isolation membrane. Leftover thinset ridges telegraph through the new floor as hollow spots and lippage.
Keep reading
- Can You Tile Over Existing Tile? When It Works and When It Fails
The bond test that decides it, height and door-clearance math, prepping glossy tile for mortar, and the situations where removal is the only honest answer.
- The 7 Tile Mistakes That Show Up a Year Later
Skips that pass inspection on day one and fail by month twelve: no membrane, thin coverage, slivers at the doorway, wrong caulk, and more.